 Saifullah Ahad
 PiegrieztneLive on Google Play
Fabric cutting layout: plan every piece before you cut
A fabric cutting layout is the plan for where each piece sits on the cloth before the first cut. Two university extension guides explain how to set one up, and you can do it with no app. Piegrieztne, an Android app that arranges outlines you have already measured, comes after.
Three words a layout depends on
Both guides use the same small vocabulary. Here it is, as each one defines it.
Layout
“the position of pattern pieces on fabric to be cut.”
Purdue Extension, glossary
Lengthwise grain
“The threads which run the length, or the long way, of the fabric are called the ‘lengthwise’ threads or the lengthwise grain.”
UNH Cooperative Extension
Selvage
“the narrow, tightly woven strip running along a long edge of the fabric.”
UNH Cooperative Extension
How to set up a cutting fabric pattern layout
Five points, in the order the guides give them. The quotes are theirs; I added nothing about sewing.
- 1
Make the fabric straight and preshrunk
“Always make sure your fabric is straight before cutting it.” “All fabrics should be preshrunk before you begin sewing. Wash and dry it, using the same method you will use for the finished product.”UNH Cooperative Extension, “Sewing for Beginners”
- 2
Spread the cloth and lay every piece out first
“Work on a smooth, clean surface, first, spread out the cloth and lay out the pattern pieces to make sure that it fits.”UNH Cooperative Extension
- 3
Follow the suggested layout and fold the fabric
“Follow the suggested cutting layout shown in the pattern. Be sure your fabric is correctly folded...usually in half lengthwise with right sides together.”UNH Cooperative Extension
- 4
Put the grain arrow along the lengthwise grain
“The grainline arrow on your pattern should follow the lengthwise grain of your fabric. Check it by measuring the distance from the selvage or folded edge of the fabric to the grainline arrow; the distance should remain the same all the way down the arrow. When correctly adjusted, pin the arrow in place so it won’t shift, then pin the pattern down and cut it out.”UNH Cooperative Extension
- 5
Turn every piece the same way on one-way fabric
“Items to be made of fabric with a definite nap should be cut out so that all pieces have the nap running either up or down. If the nap runs up toward the top of the item, the color will appear darker. If the nap runs down toward the bottom of the item, the color will look lighter and have a slight shine.”Purdue Extension, glossary entry for nap
An example, made up for this page
Say the cloth is 1500 mm wide and two pieces are 460 mm and 420 mm wide. Side by side they use 880 mm, which leaves 620 mm of the width before any space you want to keep between pieces. A third piece wider than that will not fit beside them without turning it or moving something. This is the kind of check step 2 means by “to make sure that it fits”. Neither source gives this example.
Sources: UNH Cooperative Extension, “Sewing for Beginners: A 4-H Clothing Publication” (introduction and cutting section; no date shown in the file), and Purdue Extension, “4-H Sew Much Fun Helper’s Guide” (4-H-929-W), glossary (no date shown). Both read by me on 13 November 2026.
A fabric cutting layout calculator for measured outlines
Piegrieztne: Fabric Layout is an Android app for one job. You give it outlines with real measurements and the size of your fabric, and it arranges the pieces on that fabric. It does not draft patterns and it does not give sewing advice. The example plan in its screens is called “Tailored coat”.
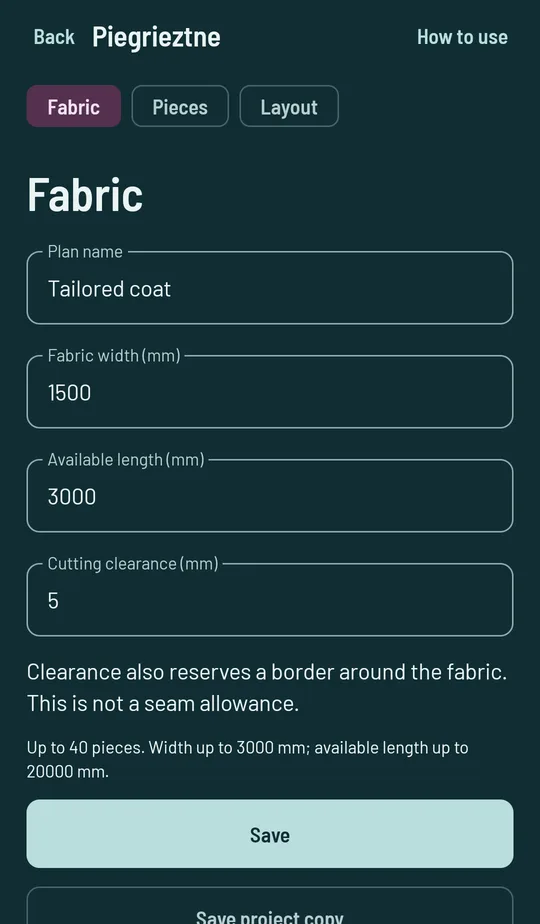
The Fabric tab: plan name, fabric width, available length and cutting clearance, all in millimeters.
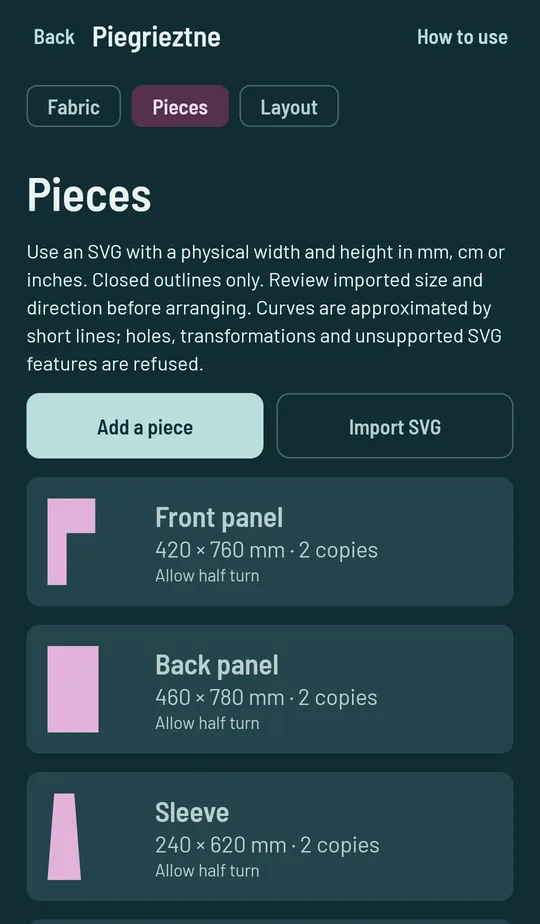
The Pieces tab: Front panel, Back panel and Sleeve, each with its size, two copies and Allow half turn.
What you give it
- On Fabric: Fabric width (mm), Available length (mm) and Cutting clearance (mm). The app says clearance “also reserves a border around the fabric. This is not a seam allowance.” A plan takes up to 40 pieces.
- On Pieces: Add a piece (Rectangle, L-shaped panel, Tapered panel or Exact points) or Import SVG, a drawing with a physical width and height in mm, cm or inches and closed outlines only.
- Seam allowances come from the outline. The app says: “Include seam allowances in your outlines.” It adds none.
- Allowed turns for each piece: Keep direction, Allow half turn or Allow quarter turns. It says: “Keep direction for one-way fabric.” That is step 5 above. Pieces are never mirrored.
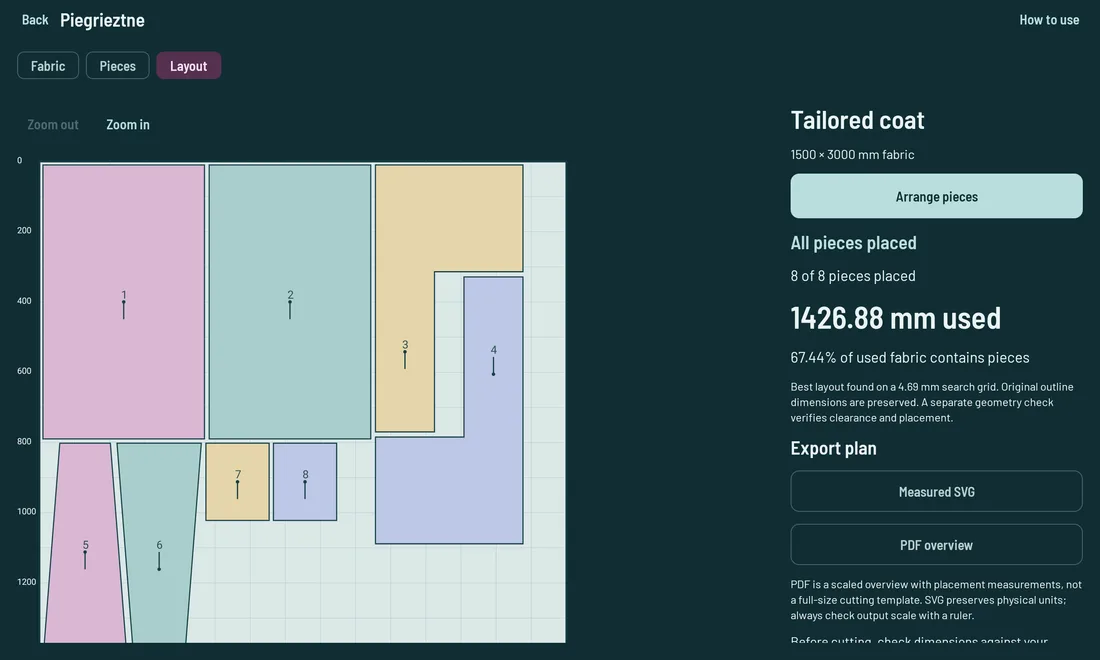
The arrangement
Pressing Arrange pieces searches for a layout. The result says All pieces placed or Some pieces are still unplaced. In the second case the app suggests more fabric length, a wider roll or different allowed turns, and says the search “does not prove that another arrangement is impossible.” Only a complete, checked layout can be exported, as a Measured SVG or a PDF overview. Save project copy keeps the inputs so Restore a project can bring them back.
The Layout tab on a tablet: the example plan with all eight pieces placed and the length of fabric used, as printed on screen. The pieces are test outlines, not a real garment.
Where it stops, what it keeps, what I did not check
Where it stops
- It finds an arrangement that fits. It does not promise the shortest one.
- It does not draft patterns, add seam allowances, mirror pieces or measure fabric from a photo.
- Its own warning: “Before cutting, check dimensions against your original pattern, grain, fabric face, seam allowances, folds and matching stripes. This plan does not check fabric stretch or print alignment.”
- The PDF “is a scaled overview with placement measurements, not a full-size cutting template.” For the SVG: “always check output scale with a ruler.”
What it keeps, and where
The privacy policy says the plans, with their names, outline coordinates, dimensions, quantities, clearance and turns, are kept in the app’s private storage on the phone and are not sent to the developer. It says there is no account, advertising, analytics or developer server, no internet or network-state permission, and that Android automatic backup is off.
Files move only through Android’s file picker, and exported copies stay wherever you save them. Plans stay until you delete them, clear the app’s storage or uninstall.
What I did not check
I read the store listing, the project records, the app’s text, the privacy policy and the store pictures. I did not run the app or any test myself. The project’s acceptance notes say its tests passed and that the example plan was run on an Infinix Note 8 and a Galaxy Tab S3; I did not see that work. Its records say there has been no field trial with a tailor, and the example plan is test data, not a real garment pattern. I did not check how short its layouts are against a layout made by hand, or the SVG or PDF scale against a ruler.
Where the guide comes from
- UNH Cooperative Extension (University of New Hampshire). “Sewing for Beginners: A 4-H Clothing Publication.” I read the introduction and the cutting section. extension.unh.edu: Sewing for Beginners (PDF)
- Purdue Extension (Purdue University). “4-H Sew Much Fun Helper’s Guide” (4-H-929-W), glossary. extension.purdue.edu: Helper’s Guide (PDF)
Planning a cut right now?
Lay every piece out before you cut, as the guides above say. If you have measured outlines, the app can do the arranging.